Pages

Showing posts with label Restoration. Show all posts

Sunday, August 7, 2011

I received the following email from Charlie. Any advice readers can offer him regarding restoring the burners would be appreciated.
"Attached are some photos of the stove.  We just purchased it off of Craigslist for $140.  The guy we bought it from put it together from 2 stoves that he got off of Craigslist - one in Ohio and one in Illinois.  Both of those had issues with dents and wear, so he used one for parts to fix the other.  He never finished getting it working though and his wife had a change of heart and decided for a more modern stove.  Now I have to get it working with no knowledge of how to go about doing it (I tried calling appliance repairmen in the area, but none knew anything about older stoves).   I'm going to start by getting the burners cleaned and as you can see, I have some parts missing on the right side burners, so I will try to figure out how to replace those.
Any advice that anyone can give to me on what to do or who to call or where to get parts, I will gladly take.
Thanks again,
Charlie"
My advice to Charlie was.....

It might be worth your while to look for complete replacement burner - it might be difficult to get a old replacement burner top that will tightly fit (i.e. no gas leaks) your existing burner. You have the "contro-lo-eat burner" in front.

You might contact this seller on Ebay:  I have purchased parts from him in the past, as have some of Tappan Talk readers and his prices have been reasonable.

This is another resource (I purchase insulation and an oven light socket from them)


Sunday, January 23, 2011

Burner Valves

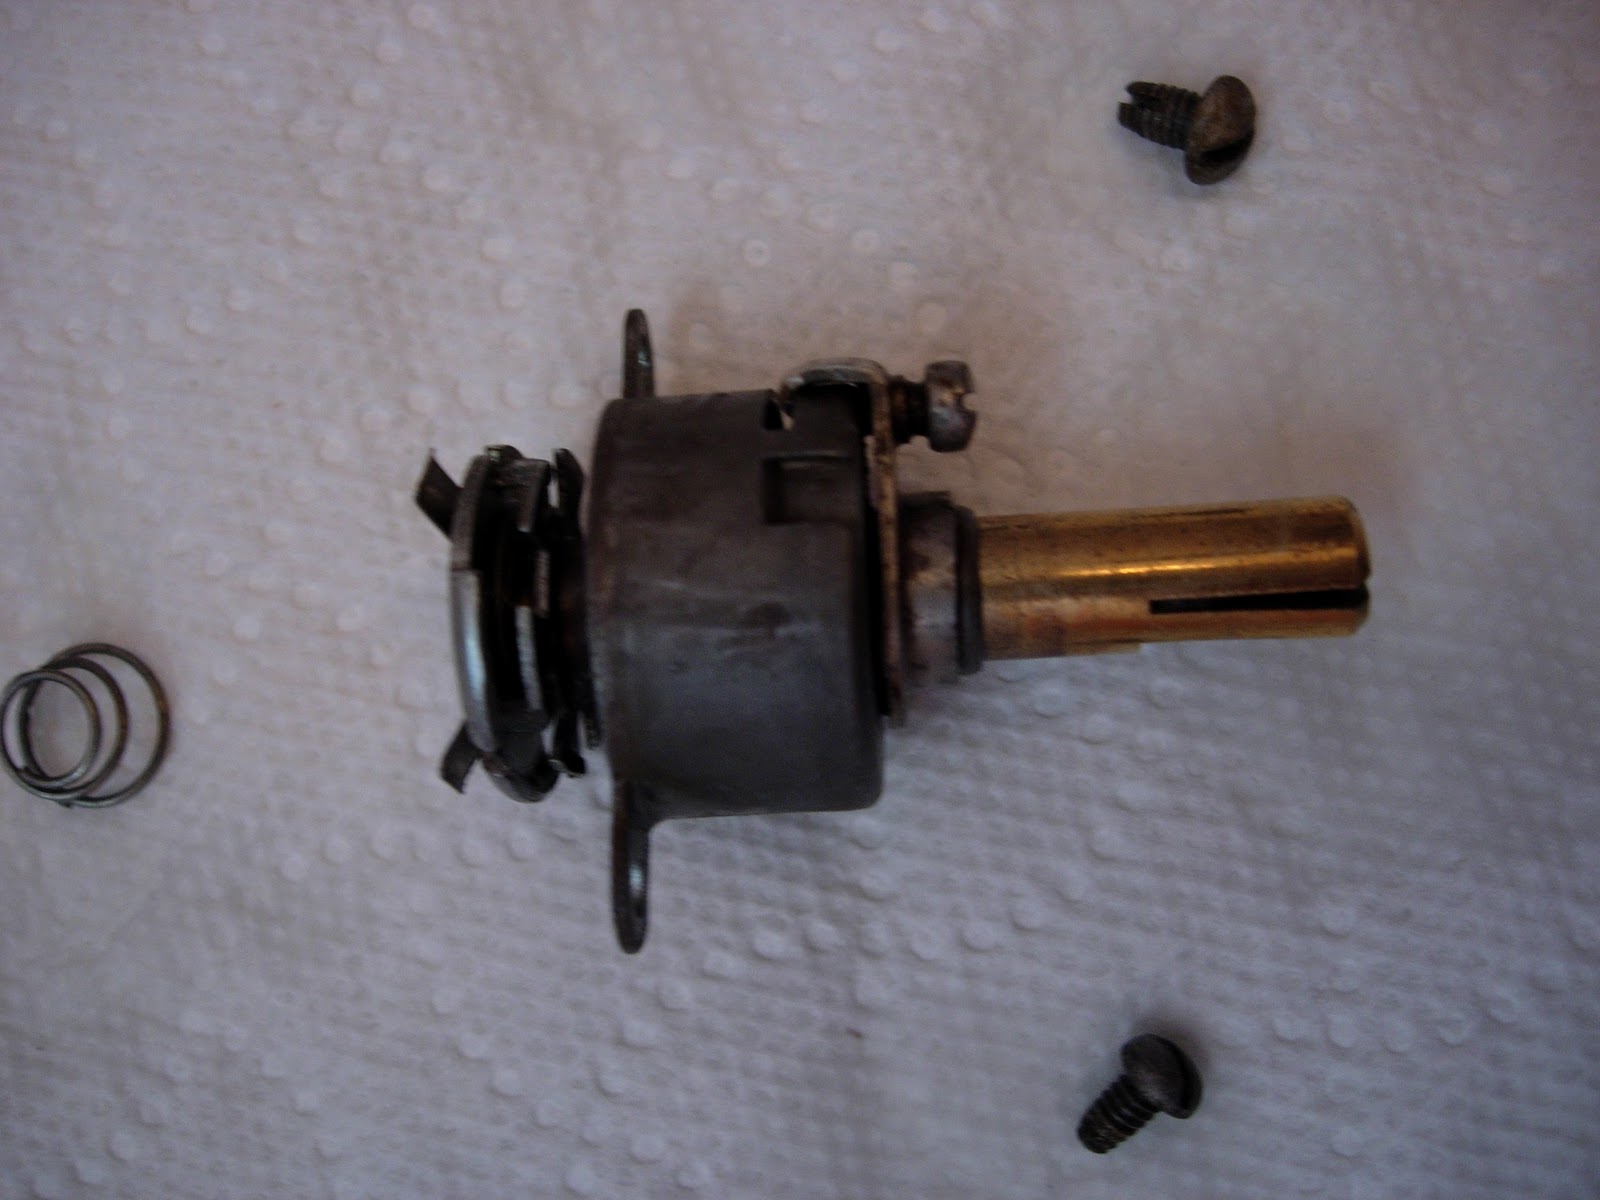
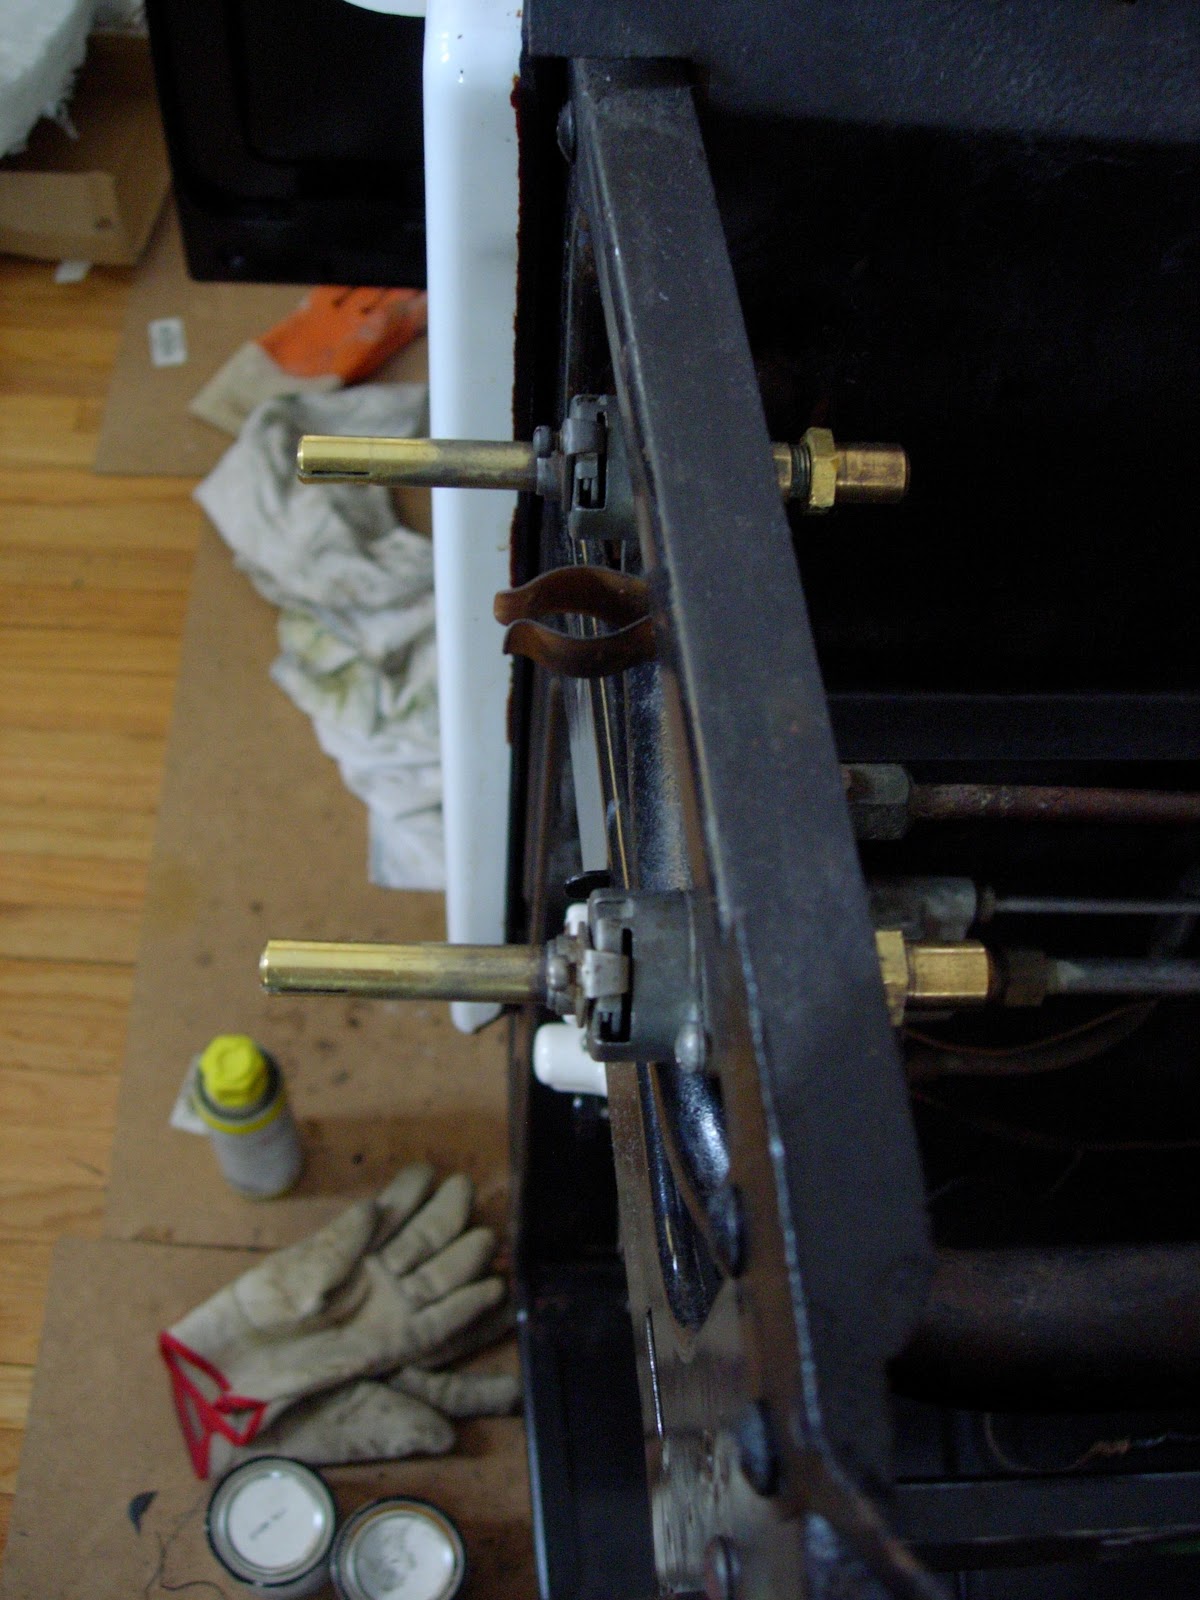
I purchased burner valve cream from The Old Appliance Club.  The cream comes with some pretty easy to follow general instructions. They aren't specific to a Tappan Deluxe, but it's not brain surgery.  I was a little intimidated to start this project, but once I had the valves apart it...I had an ah-ha moment when I realized how simply they work.

I used a mild degreaser to clean the parts. You just need to pay attention as you disassemble, so you can reassemable the relubricated parts the same way. My valves turned out well and now turn pretty effortlessly with a satisfying little click. I plan to have them professionally reviewed before I put them into action.

Of course, I started working on the valves themselves a while ago.  They were covered in grease and the brass was a total surprise.


Sunday, January 16, 2011

Insulation

I've had the high heat stove insulation sitting around for a couple of months now. Today I finally got around to installing two layers of replacement insulation to the top of my stove. One under the manifold pipe and one above it.  If you compare the old photo with this one, you can also see where I treated the surface rust on the tops of the oven walls. The stove top is now ready to be reinstalled.

I still need to replace the insulation in the broiler door.

 
Related Posts with Thumbnails